Intro
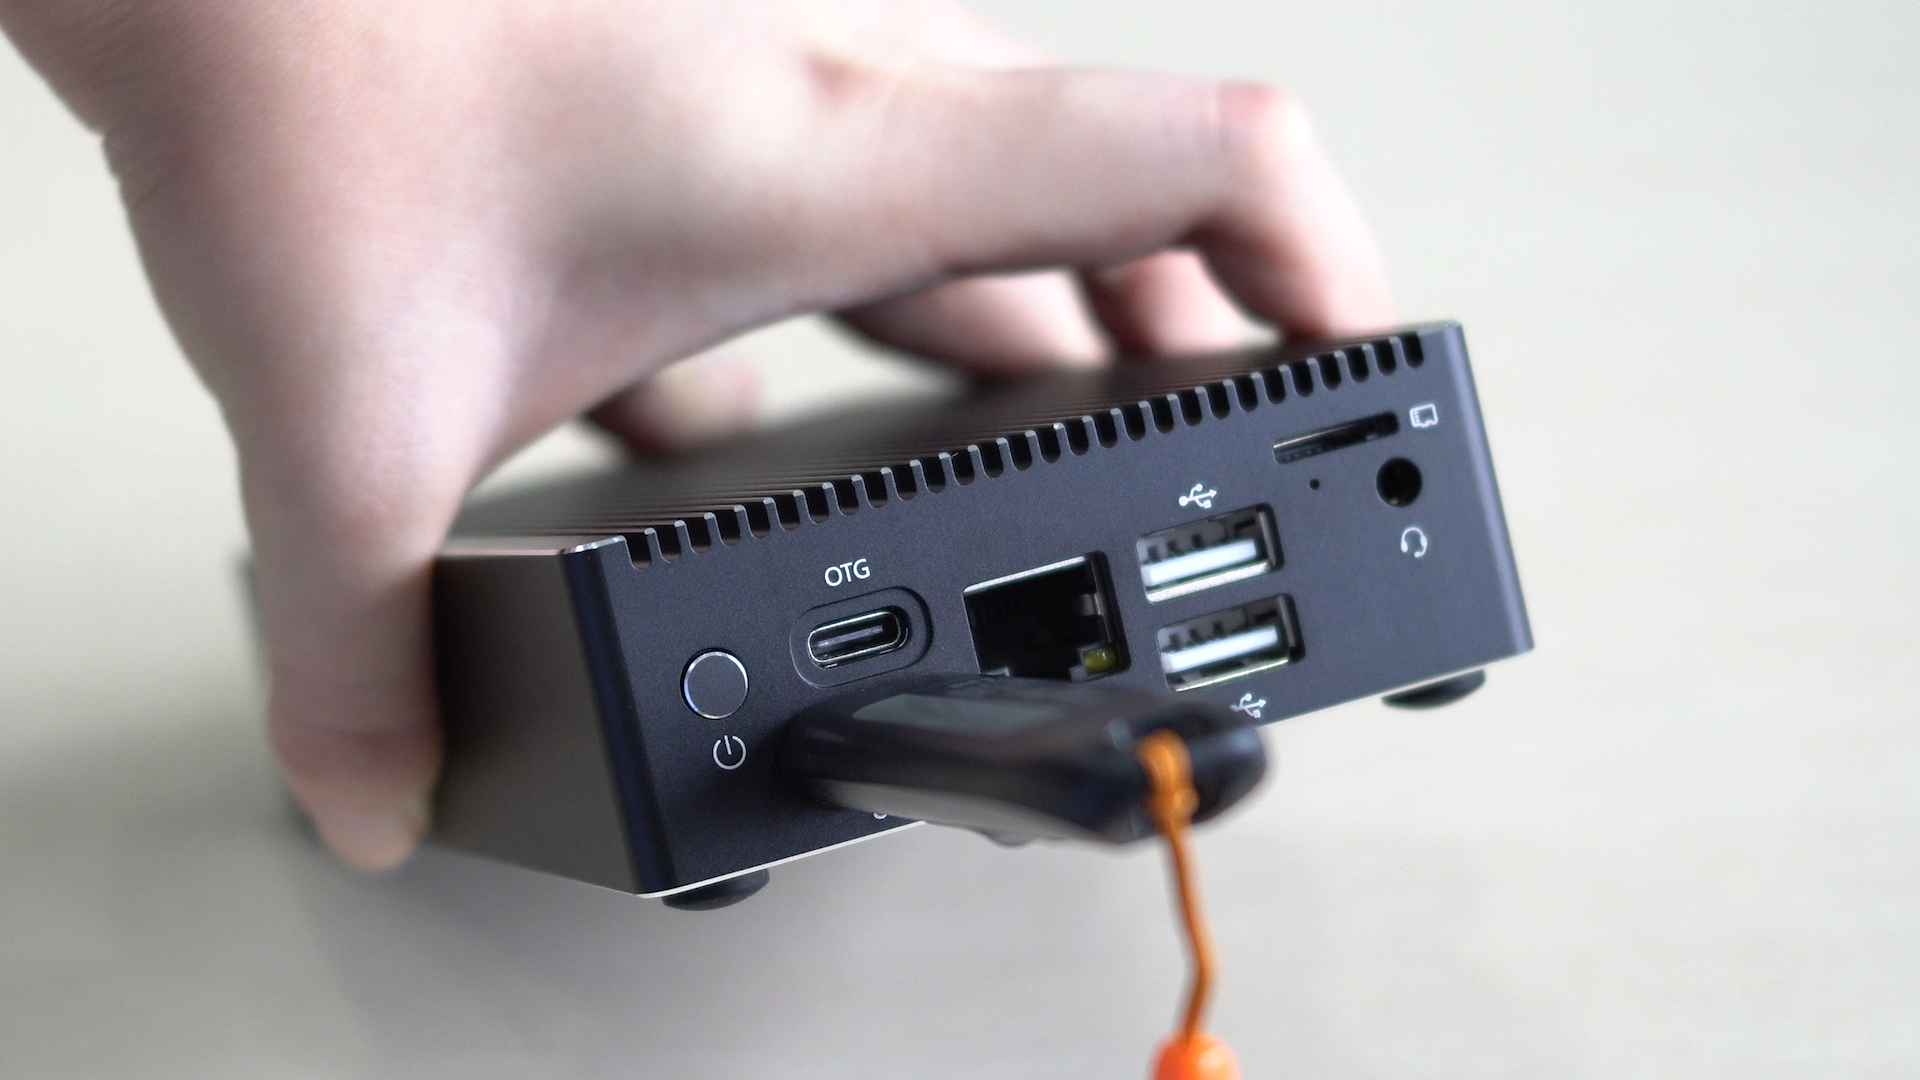
“OS Assistant” APP on StationOS can help users create boot disks conveniently, easily install various operating systems on different storage devices (SSD, M.2 NVME hard disk, U disk, TF card, etc.), and freely choose the boot disk when booting up. In this chapter, we will introduce how to make various boot disks.
Note: The devices and systems that can currently use the Multi Boot function are as follows.
| Device | OS |
| Station P2 | Android11, Ubuntu18.04, Ubuntu20.04, OpenWRT, LEDE, Android TV |
| Station M2 |
Kit
Station PC (runs Station OS v1.0.5 or later and Enable Bootloader (Note: Station P1/M1 does not support this function temporarily)
Boot disk (External storage devices such as hard disk/U disk/TF card with capacity over 8G)
Hard disk connection: Please refer to the tutorial of the according PC.
Eg: How to Install 2.5” HDD/SSD in Station P2?
USB storage devices connection: Connect to the USB3.0 interface.

TF card connection: Insert into the card slot.
Create boot disk
Method 1: Online flashing
Enter All Apps -> OS Assistant -> Select OS, and select an Online OS.

Select the Target Drive where the image to be flashed.

Select “Flash!”, and select “Yes” to download and flash.

After flashing, select “Reboot”.

After rebooting, you can see the according boot disk.

Use the remote control or keyboard to select the corresponding boot disk to enter the system of the boot disk.

Video
Check out this video to create.
Method 2: Local flashing
Visit“Downloads page”, choose the image (RAW version) and download.

Put the image (RAW version) to the root directory of the internal storage/U disk/TF card.

Enter All Apps -> OS Assistant -> Select OS, and choose the Local OS.

Select the Target Drive where the image to be flashed.

Select “Flash!”, and select “YES” to flash.

After flashing, select “Reboot”.

After rebooting, you can see the according boot disk.

Use the remote control or keyboard to select the corresponding boot disk to enter the system of the boot disk.

Video
Check out this video to create.
Method 3: Flash from File Manager
Enter All Apps -> OS Assistant -> Select OS, and click “Select from file manager”.

Choose the RAW image.

Select the Target Drive where the image to be flashed.

Select “Flash!”, and select “YES” to flash.

Boot disk is flashed. (If the image fits this device, click “Reboot”; if not, remove the boot disk and insert to the according device.)

Video
Check out this video to create.
FAQ of Boot Disk
Where can I download the local OS image?
Visit“Downloads page”, choose the image (RAW version) and download.
Mouse or remote control cannot be used on the Bootloader interface.
This function only supports USB keyboard and official 2.4G remote control at present, and does not support hot swap. Some input devices may be abnormal when connected to USB 3.0. It is recommended to connect the input device to USB 2.0.
How to change the system image in the boot disk?
Re-select the system and the corresponding boot disk, and flash again to overwrite the old system image.
I don’t want the system anymore. How to erase it?
Boot Station OS, enter Settings -> More -> Storage, select the storage and select “Format” (Other files in the storage will also be cleared).
