View 4569
QR Code
Device & Accessories
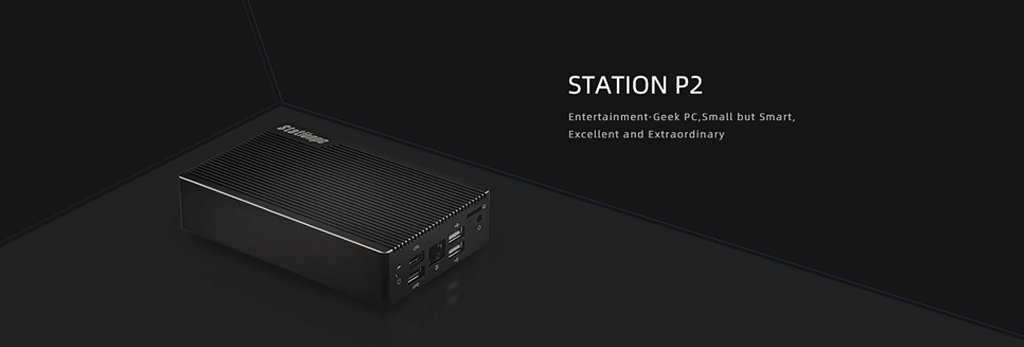
- Station P2 x 1
- 12V-2A power adapter x 1
- Type-C cable x 1
- 5db antenna x 1
- HDMI2.0 cable x 1
- Tool kit x 1

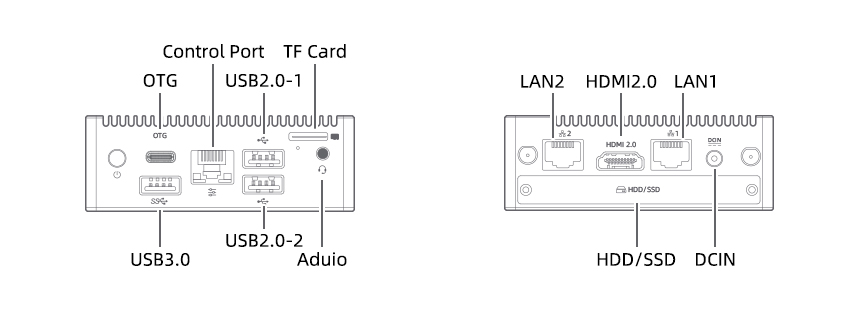
Interfaces
- OTG: For TypeC data communication
- Control Port: For RS232 and RS485 device
- USB3.0: For USB high-speed data transfer
- USB2.0: For USB data transfer
- USB2.0: For USB data transfer
- TF Card: For TF Card
- Audio: For audio output
- LAN 1: For network connection
- LAN 2: For network connection
- HDMI2.0: For monitor
- HDD/SSD: For 2.5” (7mm) HDD/SSD
- DCIN: For power input
Bootup
- Monitor Connection: Utilize HDMI cable to connect monitor to Station P2
- Power Connection:Connect 12V power adapter to DCIN port of Station P2, plug in and power on
- Initial Settings:Utilize remote control, mouse & keyboard or other input devices to finish settings
After finishing initial settings, you can use Station OS.
Continue to read articles from“Station OS”, “FAQ”, “Recommendations”
Station OS
FAQ
How to install 2.5” HDD/SSD in Station P2?
How to install Google Services Framework and Google Play?
Recommendations
How to boot Ubuntu?
How to Stream PC Games?
How to Play Emulation Games?
How to Watch Live TV?
How to Boot Armbian?
How to Boot Manjaro?
How to Boot FreeBSD


